
Chances are you have a lot of physical photos in photo albums or shoeboxes around the house. Luckily, they can be converted to digital images that will last for generations.
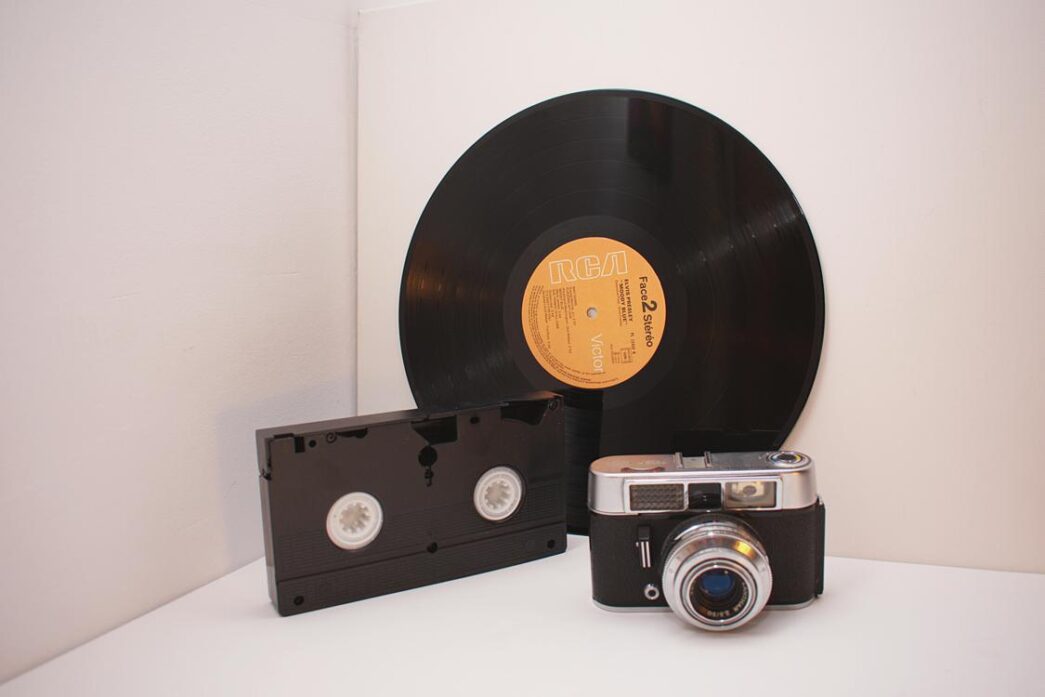
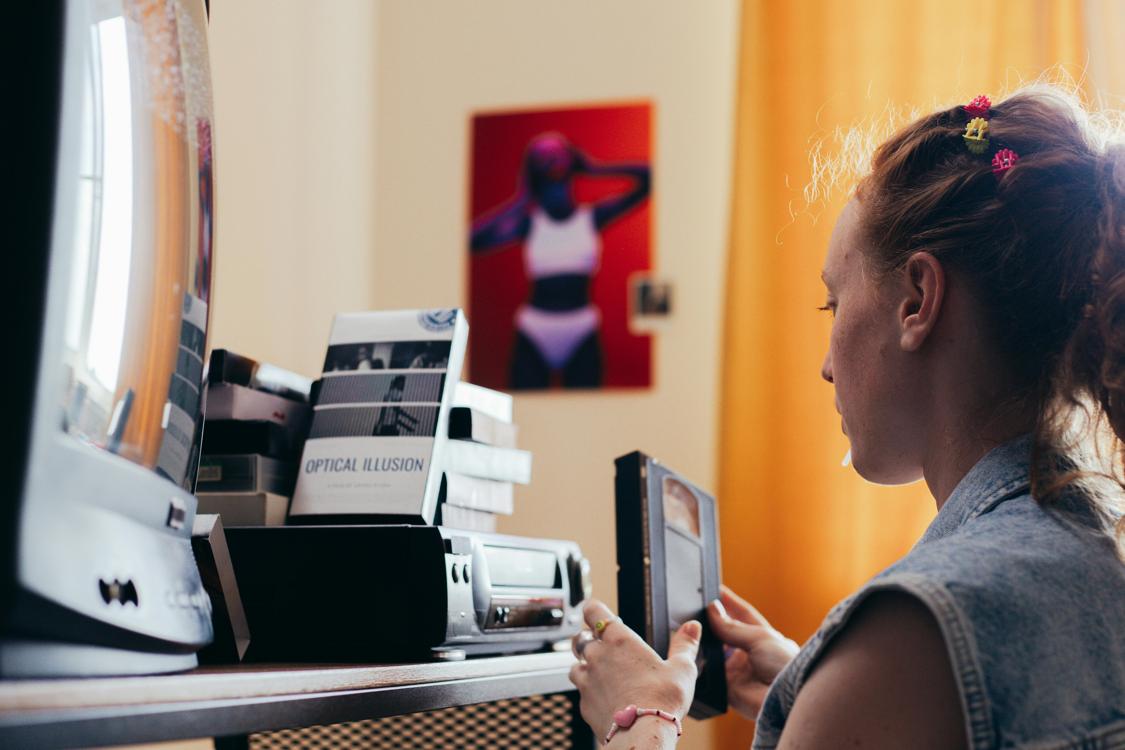
There are a few ways to digitize your photos, but scanning is the most reliable. Using a flatbed scanner eliminates optical distortion and produces high-quality results, and can work quite well to turn vhs tapes to digital format.
Scanning
Whether your family photos are stuck on film strips or stored in photo albums, converting them to digital format will allow you to safely and easily preserve these memories. It will also provide you with digital backups that can be stored on the cloud or hard drives, ensuring your photos don’t get lost or damaged in the event of a natural disaster. 
Scanning your photos can be done with a flatbed scanner, which is typically found in most homes or office settings, or you can take your analog prints to a professional photography store that offers scanning services. Both options will produce high-quality digital files that can be easily shared, printed, or viewed on a computer, tablet, or smartphone.
If you choose to scan your photos at home, it’s important to know what resolution to set the scanner to. You’ll want to start with a breakpoint between 70 to 96 DPI for sharing online or smaller print sizes, and 200 or 300 DPI for printing images that are larger than the original photograph.
You’ll also want to select whether to scan your photos in color or grayscale. Black-and-white photos will be best scanned in grayscale to prevent the scanner from picking up color from the paper or stain on the photo, while sepia-tone photographs should be scanned in color so that the digital image retains the same colors as the original photograph.
Lastly, you’ll need to decide how to save your digital files. Jpegs are the most popular and versatile file types, but PNGs offer a better quality image and TIFF files are preferred by photographers, graphic artists, and printers because they have more fidelity than other file formats.
Choosing the right resolution and setting your scanner to the appropriate settings will ensure that your digital files are clear and crisp. It will also help to protect your digitized photos from the environmental factors that can damage physical images, such as light, heat, and humidity. While no photos can last forever, converting to digital format will protect your memories for as long as possible and give you peace of mind knowing that your photos will be safe even if they do eventually become damaged or fade over time.
Taking a Photo
The best way to preserve photos is to scan them, but this requires a flatbed scanner. If you don’t have one at home, there are a few other ways to turn physical photographs into digital images. The most popular method is using a smartphone. It’s quick, easy, and cheap. You can also take a picture of your photos with a regular camera, but this may result in more distortion than scanning them.
When deciding which photos to digitize, pick only those with the highest importance. It’s tempting to keep every photo you ever took, but you should consider whether each one holds personal and historical value. Put on your Marie Kondo voice and ask yourself “does this spark joy?” If it does, keep it. It’s also important to identify the people in the photos and their names, as well as any other information that can provide context for future generations.
Once you have all your physical photos, make sure that they’re in good condition. Clean them before you start to digitize them. Dust is one of the most common causes of lost and degraded photos, so you should carefully vacuum or use an air bulb blower to remove it. You can also use a microfiber cloth or paper towel to carefully touch each photo to get rid of any small dirt particles. Avoid touching the photograph with your fingers as this can cause damage and smudge the image.
Next, you should organize the photos on your computer or hard drive by putting them in folders or a photo album. Then, label them with their name and date. This will help you find the photo you need quickly and ensure that future generations know who it is, what it shows, and where it was taken.
Then, you can put the photos away in a My LifeJar to protect them from dust and other environmental hazards. When storing your photos, it’s essential that you don’t store them with other documents or items as they can scratch and damage each other. Click here to learn more about My LifeJars, the safest place to store your photographs and other special documents.
Using a Smartphone App
If you don’t have a physical scanner but still want to preserve your old photos and convert them into digital photographs, one option is to simply take a picture of the print photo with a smartphone camera. This can be a quick and easy way to do it, but the resulting photos may be of low quality. In addition, taking pictures of print photos on a smartphone camera will inevitably capture unsightly backgrounds, glares, and scratches or other imperfections that a scanner would minimize.
For this reason, it’s a better idea to use a specialized smartphone app for photo-to-digital scanning. There are several such apps available, and they all work essentially the same way. Most require you to place the photograph flat on a neutral-colored surface such as a table or a piece of cardboard. This can help reduce glares and shadows, as well as press flat any pesky curling of old photographs.
One of the most popular such apps is called NOMO CAM, and it’s free to download. It has a paid plan that adds more features and capabilities, but even the basic free version is more than enough to get you started with photo-to-digital scanning on your smartphone.
Printing
There’s something charming about a stack of family photo albums or shoeboxes filled with photographs, but physical photos are susceptible to water damage and other problems. Digital photos offer a much more secure alternative and are easier to share with family members through social media or email. In addition to that, digital photos can be stored on your computer or in the cloud so that they are protected from fire and theft.
When you digitize analog photos, it’s important to keep in mind the different factors that can affect their quality. Some of these include light, heat, and humidity. UV light can fade and discolor prints, while heat and humidity can cause them to warp or yellow. To protect your prints, store them in a cool, dry place away from direct sunlight and light sources.
While no image can last forever, photo preservation will help your memories last as long as possible. By converting analog images into digital format, you’ll have backup copies of your memories that aren’t susceptible to the same issues as your original prints.
In the digital age, it’s easy to take a picture with your smartphone and have it saved to your computer in just a few minutes. However, many people still have old paper photos in photo albums or in shoeboxes. By converting these photos into high-quality digital images, you can enjoy them for years to come.
When digitizing print photos, it’s important to clean them carefully before starting. Use a microfiber cloth to remove any dust or debris from the surface of the photograph, and be careful not to touch it with your fingers unless you’re wearing nitrile gloves. Brushes can also scratch the surface of a print, so be careful when using one on an analog photo. Instead, try an air bulb blower to gently blow the dust off of your photographs without damaging them.
When you digitize your photos, it’s best to save them in a lossless file type like TIFF for editing and archiving or JPEG for sharing. It’s also recommended to back up your digital files on a hard drive or in the cloud. This will ensure that if your computer crashes or you lose the drive, your photos will still be safe.


